How-To
Car Detailing Checklist: The Complete Step-by-Step Guide
Key Takeaways
- A full car detailing checklist runs in one direction: interior first (or last, your call), then exterior top-to-bottom, wheels and tires before paint, and protection as the final step.
- Always wash with two buckets and a grit guard, dry with a plush microfiber or a filtered blower, and never wipe a dirty panel dry.
- Work in the shade on a cool panel. Sun and heat flash-dry soap and quick detailer, which bakes in streaks and water spots.
- Clay bar (or a clay mitt) removes bonded contaminants that washing leaves behind. Do it before you polish, wax, or coat, never after.
- Protection is the last exterior step: wax lasts 6 to 10 weeks, a spray sealant 3 to 4 months, and a real ceramic coating 2 to 6-plus years.
A complete car detailing checklist follows a strict order: clean the interior, then wash the exterior from the top down, decontaminate and correct the paint, and finish with protection. Doing the steps out of order is the number one reason a home detail looks streaky or leaves swirl marks, so the sequence matters as much as the products.
We're Golden Bay Detailing, based here in San Francisco. We've detailed over 500 cars in driveways, office lots, and fog-soaked streets, and the checklist below is the exact one our technicians work from. It's built so you can actually follow it at home, whether you're doing a quick refresh or a full weekend deep clean.
This guide covers both interior and exterior, tells you what tool or product to reach for at each step, and flags the moments where DIY is totally fine versus when you're better off calling a pro.
Why the order of detailing matters
Detailing is not random scrubbing. Each step either prepares the surface for the next one or protects the work you just did. Skip the sequence and you undo your own effort.
Two rules drive the whole order. First, always work top to bottom, because gravity pulls dirt and runoff downward onto areas you haven't cleaned yet. Second, always clean before you protect, because sealing dirt or contaminants under wax or ceramic locks the grime in permanently.
Most pros do the interior first so you're not tracking dust back into a freshly washed car, then move outside. Some flip it and save the interior for last. Either works. What you cannot flip is washing before you polish, or polishing before you protect.
Pro tip: Set a two to four hour block for a full detail and don't rush the drying steps. Ninety percent of the swirl marks our technicians fix on customer cars come from wiping a half-dry, still-gritty panel.
What tools and products you'll need
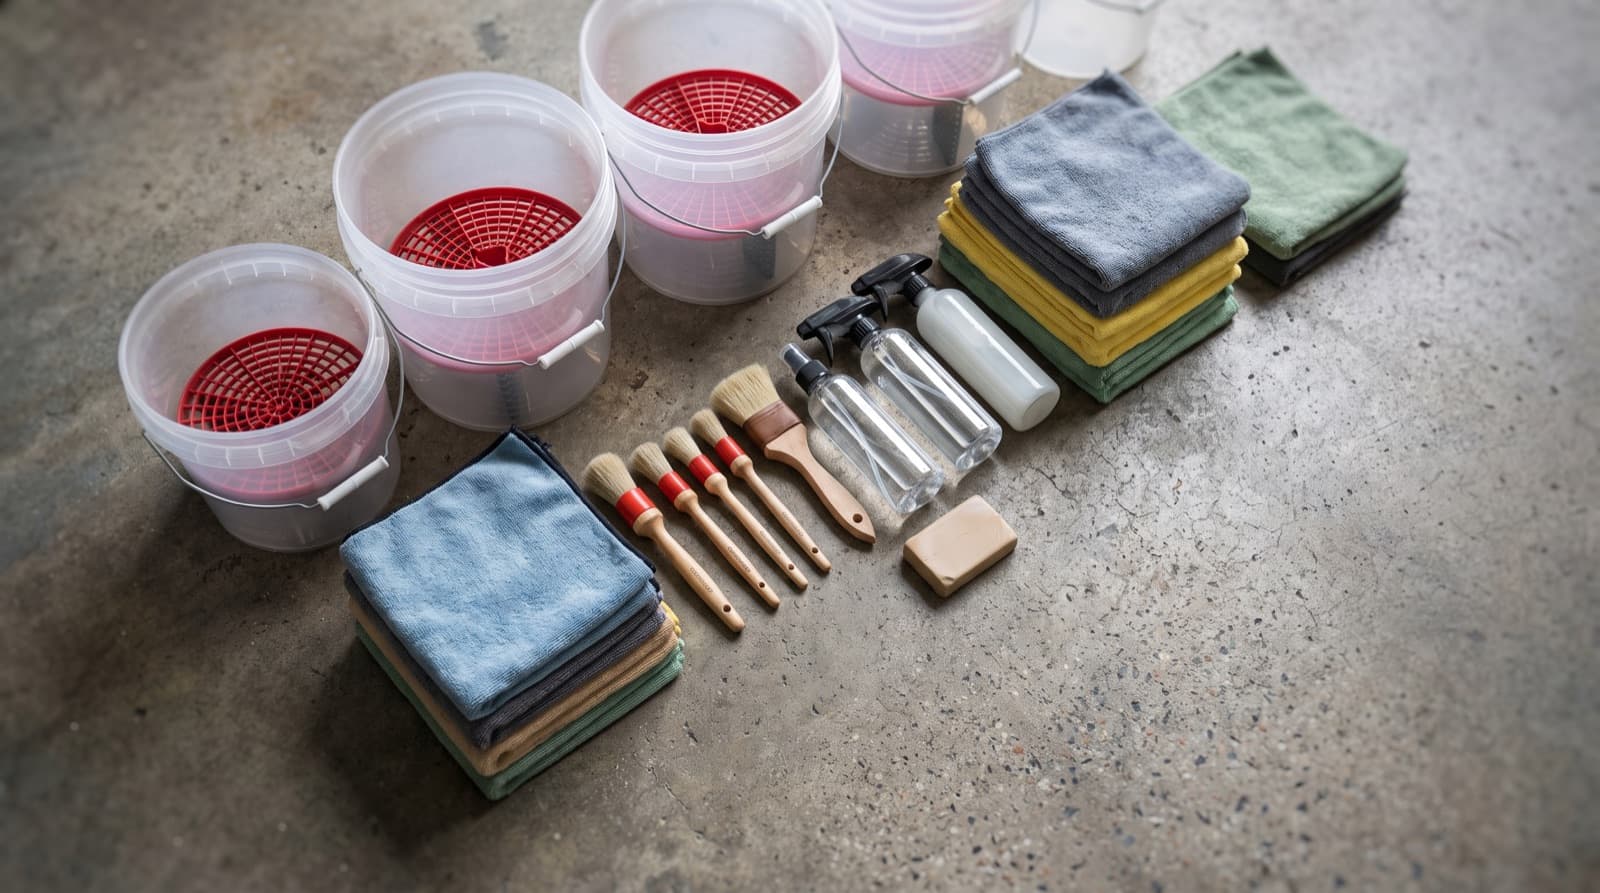
You don't need a garage full of gear to detail well, but a few basics separate a clean car from a scratched one. Here's the core kit and what each item is for.
- Buy microfiber in bulk and color-code it: one color for interior, one for paint, one for wheels. Cross-contamination causes scratches.
- A clay mitt is faster and more forgiving than a traditional clay bar for beginners.
- If you don't own a DA polisher, skip the correction step and go straight to wax or a spray sealant. A machine polish in untrained hands can burn through clear coat.
| Tool / Product | What it's for | DIY must-have? |
|---|---|---|
| Two buckets + grit guards | Wash mitt in one, rinse dirt in the other, keeps grit off paint | Yes |
| Plush microfiber wash mitt | Lifts dirt without dragging it across the clear coat | Yes |
| pH-neutral car shampoo | Cleans without stripping wax or coatings | Yes |
| Wheel cleaner + stiff brushes | Cuts brake dust and road grime on wheels first | Yes |
| Clay bar or clay mitt | Pulls out bonded contaminants washing leaves behind | Recommended |
| Drying towels (500+ GSM) or blower | Streak-free drying without micro-scratches | Yes |
| Dual-action (DA) polisher | Removes swirls and light scratches | Pro / advanced DIY |
| Wax, sealant, or ceramic coating | Final protection layer | Yes (pick one) |
| Interior brushes + microfiber | Agitate and wipe panels, vents, seams | Yes |
| Vacuum with crevice tools | Pulls dirt, crumbs, and pet hair from carpet | Yes |
Interior detailing checklist (step by step)
Start inside so dust and debris don't land on clean paint. Work top down here too, and always vacuum last so you catch everything you knocked loose.
- Remove all trash and personal items, then pull the floor mats out.
- Blow or brush dust off the dash, vents, and seams before you vacuum, so it falls to the floor.
- Clean glass from the inside with a dedicated auto glass cleaner and a waffle-weave towel (do this early so you don't smear it later).
- Wipe hard surfaces (dash, console, door panels) with an interior all-purpose cleaner and a soft brush for textured plastic and buttons.
- Clean and condition leather with a pH-balanced leather cleaner, then a conditioner. For cloth, spot-treat stains with a fabric cleaner.
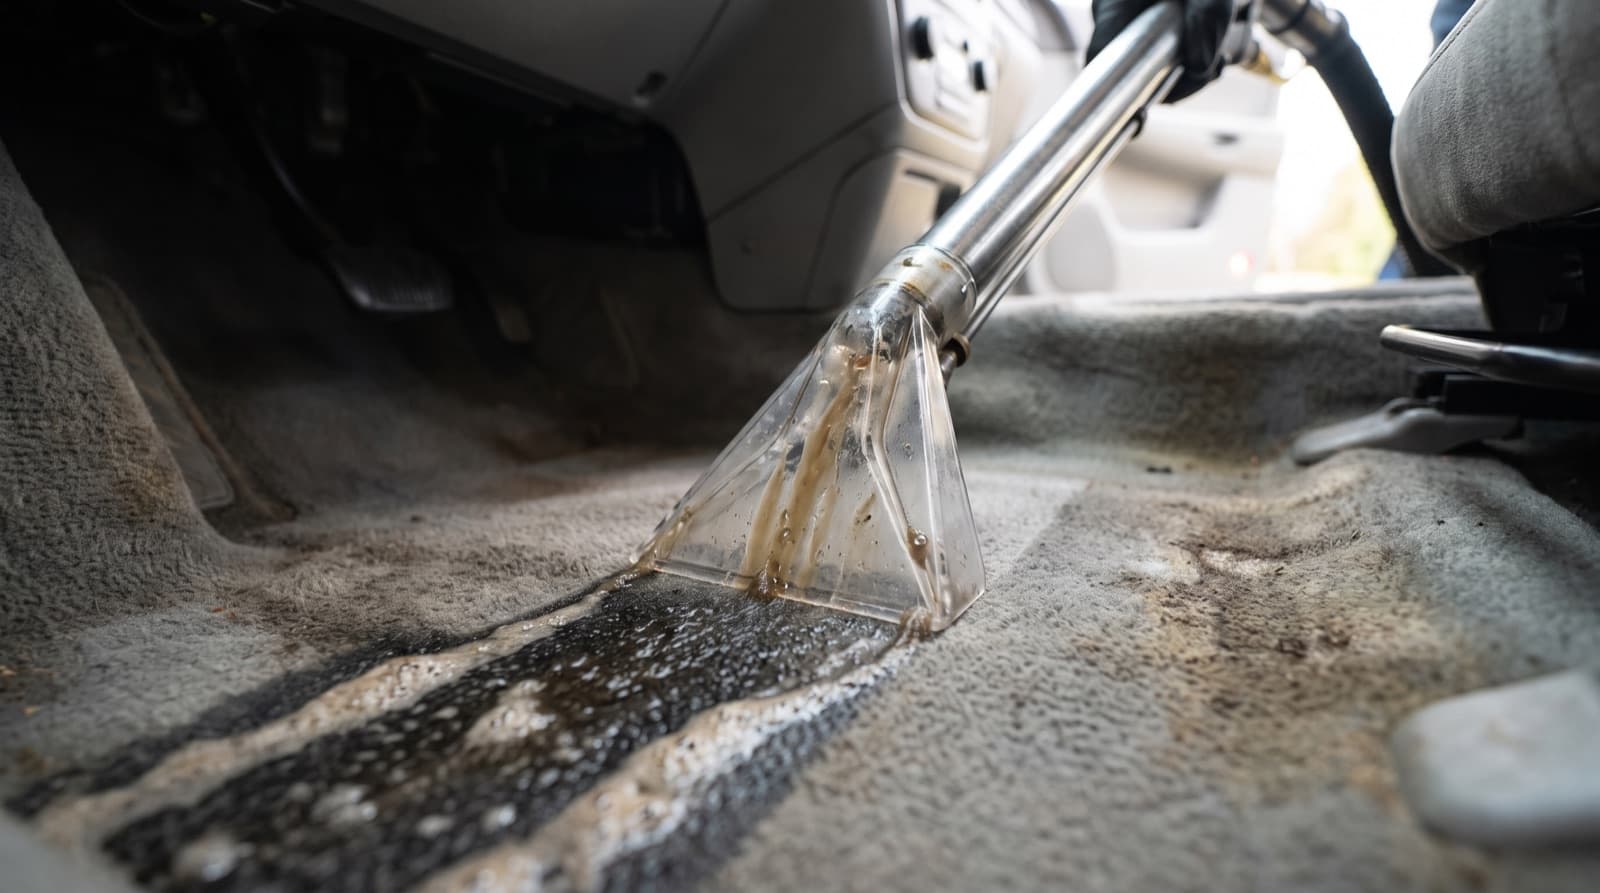
- Shampoo carpets and cloth seats with an extractor or a scrub-and-blot method if you don't have one.
- Vacuum everything last, mats included, using crevice tools for rails and seams.
- Finish with a light interior dressing on trim (matte, never glossy on the dash, which causes glare and dust buildup).
Pro tip: For pet hair that won't vacuum up, drag a rubber pet-hair brush or a slightly damp nitrile glove across the fabric first. It balls the hair up so the vacuum can grab it.
Exterior wash checklist (the safe-wash method)
This is where most paint damage happens, so slow down. The goal is to lift dirt off the surface, not grind it in. Wheels come first because they're the dirtiest part of the car and you don't want brake-dust splatter on clean paint.
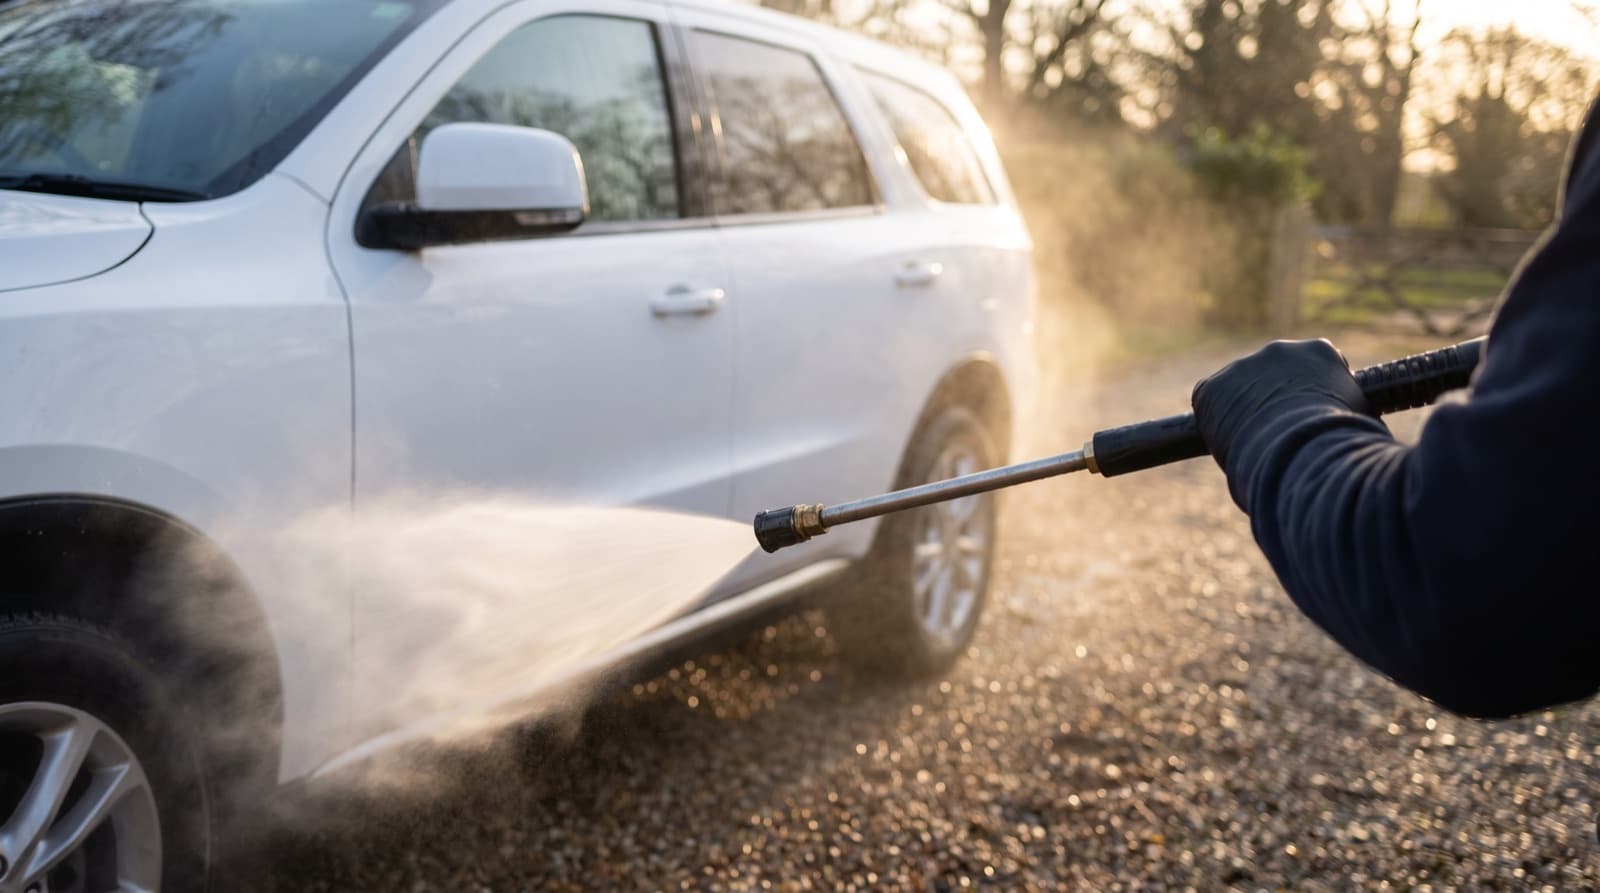
Work on a cool panel in the shade. On a hot day in direct sun, soap and water flash-dry into spots before you can rinse them, and those baked-on spots take real work to remove.
- Rinse the whole car top to bottom to knock off loose grit.
- Clean wheels and tires first with a dedicated wheel cleaner and brushes, then rinse.
- Foam or soap the car using a pH-neutral shampoo (a foam cannon helps but isn't required).
- Wash top to bottom with the two-bucket method: soapy mitt on the paint, rinse the mitt in the second bucket before reloading, repeat.
- Rinse thoroughly so no soap dries on the surface.
- Dry immediately with a plush drying towel or a filtered air blower, top to bottom, before water spots form.
Pro tip: The lower six inches of every panel is the dirtiest. Wash it last and rinse your mitt twice as often down there, or use a separate mitt for the rockers and bumpers.
Decontamination, correction, and protection
Washing removes surface dirt, but bonded contaminants like industrial fallout, tree sap, and hard-water minerals stay stuck to the clear coat. You'll feel them as roughness when you glide your hand over clean, dry paint. This is where a real detail separates from a car wash.
Run a clay bar or clay mitt with plenty of clay lube across each panel until it glides smooth. Then, if you have the tools and patience, machine-polish to remove swirls. Finish with protection. Never protect before you decontaminate, or you'll seal the grit under your wax or coating.
- Clay first, polish second, protect third. That order never changes.
- One coat of wax or sealant by hand is a great DIY finish and takes 20 to 30 minutes.
- Paint correction and ceramic coating are where we'd tell you to go pro. A ceramic coating bonds permanently, so any prep mistake (swirls, dust, missed contamination) gets locked in for years.
| Protection type | Roughly how long it lasts | Best for |
|---|---|---|
| Spray wax / quick detailer | 1 to 3 weeks | Fast top-up between washes |
| Paste or liquid wax | 6 to 10 weeks | Warm glow, easy DIY |
| Synthetic sealant | 3 to 4 months | Longer-lasting, low effort |
| Ceramic coating | 2 to 6+ years | Max protection, gloss, easy cleaning |
The SF and mobile-detailing angle
San Francisco is genuinely hard on cars, and it changes how you should run this checklist. The marine layer and fog mean constant moisture, which dries into stubborn white mineral spots the second the sun hits a panel. Salt air speeds up corrosion, and street parking piles on tree sap, bird droppings, and construction dust.
If you park on the street with no garage, drying immediately and adding a protective layer isn't optional, it's what keeps water spots and etching from setting in. A ceramic coating or sealant makes weekly street grime rinse off far easier, which matters when you can't pull into a garage to work slowly.
We're a mobile crew, so we bring our own water and power right to your driveway, office, or curb anywhere in SF, the Peninsula from Daly City to Foster City, and Marin through San Rafael. If you drive a Tesla or Rivian, note that EVs still get brake dust and road film, and their large glass roofs spot fast in our fog, so don't skip the glass and decontamination steps.
Pro tip: After a foggy night, a 60-second rinse and blow-dry before the sun hits the car prevents 90 percent of the water spotting we see on SF vehicles.
Frequently Asked Questions
What is the correct order to detail a car?
Do the interior first (or last, if you prefer), then move outside and work top to bottom. Clean the wheels before the paint, wash and dry, then clay bar, then polish, and finish with wax, sealant, or ceramic coating. The one rule you can't break is to always clean and decontaminate before you apply any protection.
How long does a full car detail take?
A thorough DIY detail covering both interior and exterior usually takes two to four hours. Add another hour or two if you're claying and machine-polishing the paint. Pros move faster because of experience and equipment, but the drying and decontamination steps still can't be rushed.
Do I really need a clay bar?
If your paint feels rough or gritty after washing, yes. Clay removes bonded contaminants that soap can't, like sap, rail dust, and hard-water minerals, and it's essential before waxing, polishing, or coating. If the paint already feels glass-smooth, you can skip it that session.
Can I detail my car in direct sunlight?
It's best not to. Sun and heat flash-dry soap, water, and quick-detailer sprays before you can wipe them off, which bakes in streaks and water spots. Work in the shade on a cool panel, early morning or late afternoon.
Is DIY detailing enough, or should I hire a pro?
A wash, interior clean, clay, and hand-applied wax are very doable at home and worth learning. Where we'd call a pro is paint correction and ceramic coating, because a machine polish can burn clear coat and a coating locks in any prep mistakes for years. At Golden Bay Detailing we come to you anywhere in SF, the Peninsula, and Marin with our own water and power.
How often should I detail my car?
A full detail two to four times a year keeps most cars in great shape, with a quick maintenance wash every one to two weeks in between. If you park on the street in San Francisco with no garage, lean toward the more frequent end because fog, salt air, and grime build up fast.
Keep reading from Golden Bay
Rather skip the checklist and hand us the keys?
We bring the water, power, and 500-car experience straight to your driveway anywhere in SF, the Peninsula, or Marin. Get an exact quote texted back in minutes, no guessing.