How-To
How to Detail a Car Interior Like a Pro, Step by Step
Key Takeaways
- To detail a car interior like a pro, work top to bottom in one direction: declutter, dry-vacuum, dust and agitate, clean each surface, shampoo the fabric, then finish the glass last so nothing re-soils a spot you already cleaned.
- The core tool kit is a strong vacuum, a set of soft detailing brushes, microfiber towels, a diluted all-purpose cleaner, and a glass cleaner; a steamer and a spot extractor add pro-level depth.
- Match the product to the surface: a diluted all-purpose cleaner for plastics and cloth, a pH-balanced leather cleaner and conditioner for leather, and an ammonia-free cleaner for glass and touchscreens.
- A full interior detail on an average car takes about two to four hours by hand and is safe to do yourself with basic tools.
- Ammonia-based glass cleaners can damage leather, window tint, and touchscreens, so avoid them inside a car.
To detail a car interior like a pro, work top to bottom in one direction: declutter, dry-vacuum, dust and agitate, clean each surface with the right product, shampoo the soft stuff, then finish the glass last. That order keeps dust and cleaner from falling onto areas you already finished.
The gap between a quick clean and a real detail is depth and sequence. A pro touches every vent, seam, and cup holder, and never sprays the glass first only to fog it right back up with dashboard overspray.
Here's the full process our technicians use on mobile jobs across San Francisco, plus the tools and the safe product for every surface so you don't wreck your leather or your screen.
The Tools and Products a Real Detail Needs
You can detail a car interior with less than you think, but the right tools cut the time in half and protect surfaces from damage.
Then match the product to the surface. A gentle all-purpose cleaner (APC) diluted around 4:1 handles most plastic, vinyl, and cloth. Leather needs a pH-balanced leather cleaner followed by a conditioner. Glass and touchscreens want an ammonia-free cleaner, nothing harsher.
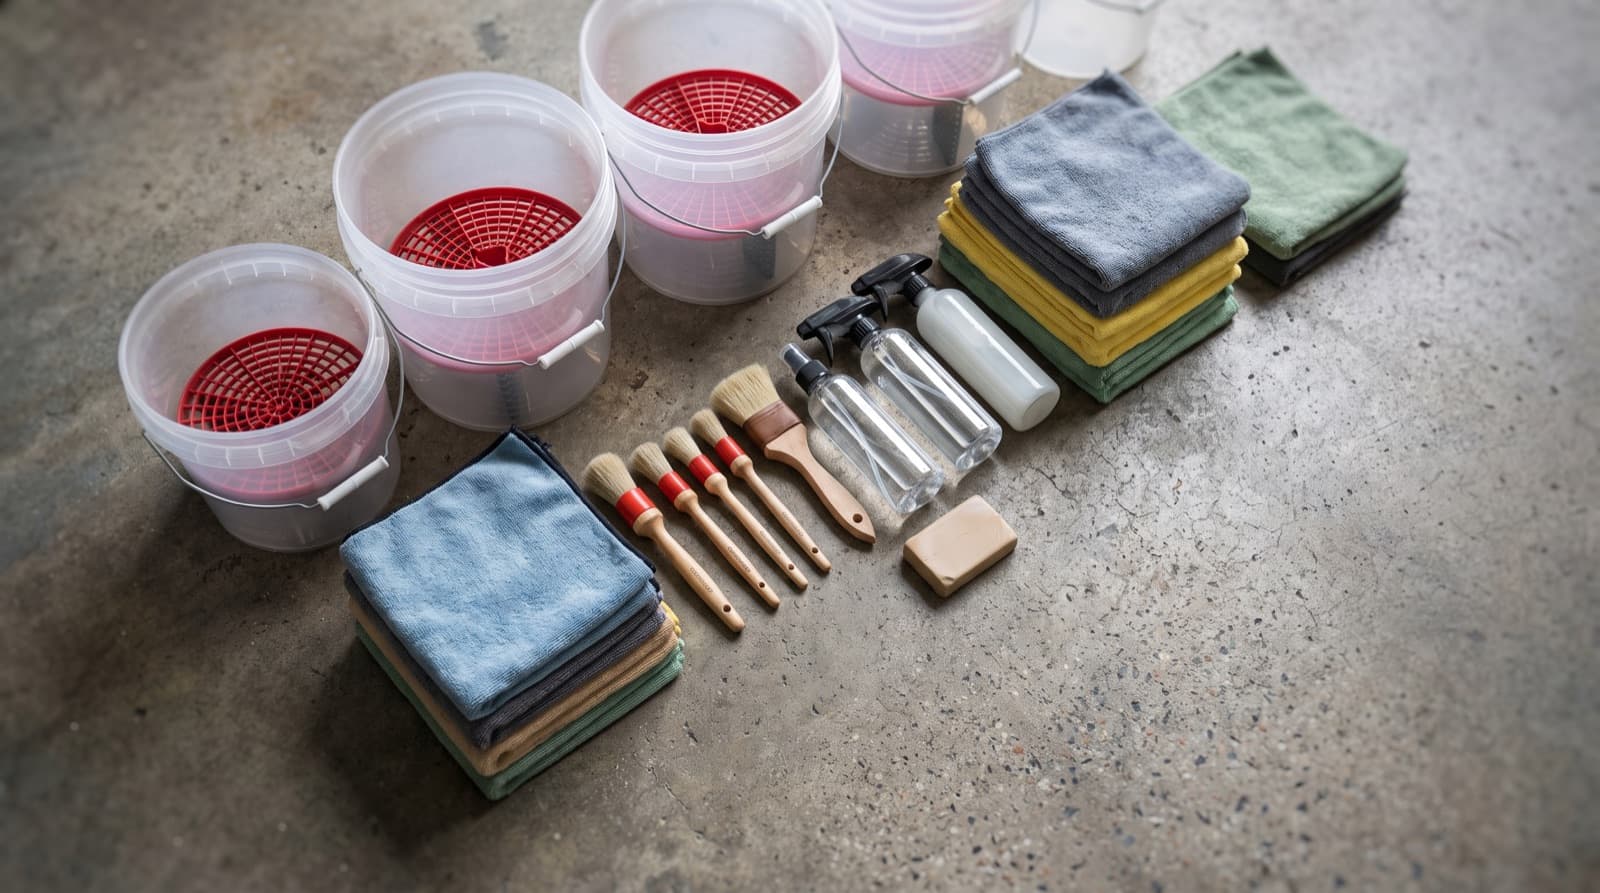
- A vacuum with a crevice tool and a soft brush head — cordless is fine if it has real suction
- Two or three detailing brushes: a soft one for vents and screens, a stiffer one for carpet and seams
- A stack of clean microfiber towels — short-nap for glass, plush for wiping surfaces
- Applicator pads for dressing and leather conditioner
- A spray bottle for diluting cleaner and a small bag for trash
- Optional but worth it: a steamer for baked-on grime and a spot extractor for seats and carpet
Pro tip: Keep one 'dirty' brush and one 'clean' brush. The dirty one lives in the footwells and pedals; the clean one only touches the dash and screen. Cross-contamination is what leaves streaks and grime where you least want it.
Step 1 — Declutter, Then Dry-Vacuum
Start empty. Pull out the floor mats, trash, coins, and everything in the door pockets and console before a single tool comes out.
Dry-vacuum before any liquid touches the car. Wet grime turns to mud and smears deeper into fabric. Use the crevice tool along the seat rails and the brush head on cloth so you lift dirt instead of pushing it in.
- Remove and set aside all floor mats
- Clear trash, then check under and between the seats
- Knock crumbs loose from seams and seat gaps with a brush before you vacuum
- Vacuum top down: headliner edges, seats, seat rails, then carpet and mats last
Step 2 — Dust, Agitate, and Hit the Vents
Dust hides in vents, seams, buttons, and the gauge cluster. A dry soft brush paired with your vacuum nozzle pulls it out without scratching.
Hold the vacuum hose in one hand and brush toward it. Work the vents, steering wheel buttons, seat seams, and the center console. A steamer or short bursts of compressed air clear the tight spots a brush can't reach.
Step 3 — Clean Every Surface, Top to Bottom
Now the wipe-down. Mist your brush or towel, not the surface, so cleaner never drips onto electronics or runs behind panels. Work from the headliner down to the carpet.
Finish the dashboard with a matte interior dressing, not a greasy shine. Glossy dressings throw glare onto the windshield and actually attract more dust.
| Surface | Safe product | Tool | Avoid |
|---|---|---|---|
| Headliner | Lightly damp microfiber, minimal APC | Soft towel, no scrubbing | Soaking — the foam backing sags |
| Dashboard & plastics | Diluted all-purpose cleaner | Soft brush + microfiber | High-gloss silicone dressings |
| Leather seats | pH-balanced leather cleaner | Soft brush, then conditioner | Ammonia, bleach, magic erasers |
| Cloth seats | APC or fabric cleaner | Brush + spot extractor | Over-wetting the foam |
| Touchscreen | Ammonia-free glass/screen cleaner | Short-nap microfiber | Spraying directly on the screen |
| Cup holders & console | APC, steamer for stuck grime | Detailing brush | Metal scrapers |
Step 4 — Shampoo Seats, Carpets, and Mats
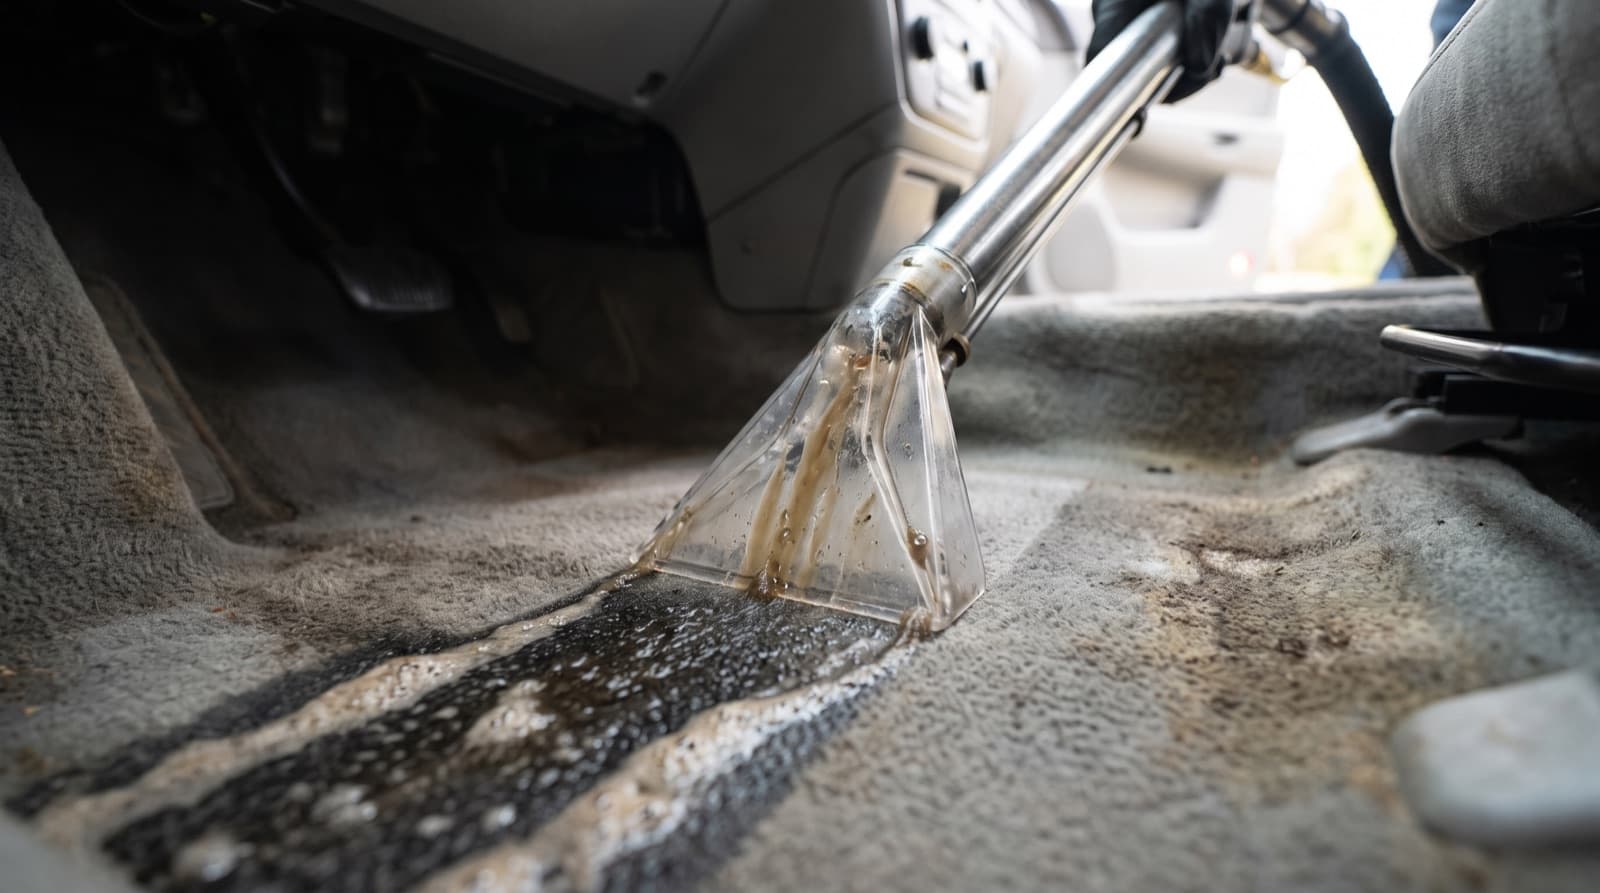
This is where a detail beats a wipe-down. Spray cloth seats and carpet with diluted cleaner, agitate with a brush, then pull the dirt back out with a spot extractor or a damp-and-blot method if you don't own one.
Go light on water. Cloth and carpet sit on foam and padding that hold moisture. Too much water means slow drying, and slow drying in a closed-up car means smell and mildew.
- Mist the fabric, don't soak it
- Agitate in small sections with a brush
- Extract or blot until the towel comes back nearly clean
- Crack the windows or run the fan to speed drying
Step 5 — Glass and Mirrors, Always Last
Save glass for the end. Clean the windows first and dashboard overspray or dressing will fog them right back up.
Use an ammonia-free glass cleaner and two towels: one to clean, one dry to buff. Spray the towel, not the glass, and wipe in one direction so any streak is easy to spot.
Pro tip: Roll each window down an inch and clean the top edge. That thin strip is where mineral film and street grime build up first, and it's the streak almost everyone forgets.
San Francisco Interiors Have Their Own Problems
City cars here fight moisture. Fog and the marine layer keep humidity high, so a damp interior dries slowly and can start to smell or grow mildew. Dry the car out fully before you close it up.
Beach trips add fine sand that works into carpet and seat seams, so vacuum those spots twice. Playa dust from Burning Man is worse — it's alkaline and abrasive, so brush and extract it rather than just smearing it around with a towel.
Street-parked cars collect more dust and tree sap through the windows, and no-garage living means interiors bake and cool every day, which dries out plastic and leather. Condition leather every few months so it doesn't crack.
Should You DIY or Call a Pro?
A standard interior clean is absolutely a DIY job. With a vacuum, a few brushes, and the right cleaners, most people can get a great result in an afternoon.
A pro brings a hot extractor, a steamer, and enzyme or ozone treatments that reach what a household vacuum can't. On mobile jobs we bring our own water and power, so the car never leaves your driveway — it's worth calling one in for these:
- Set-in stains, pet odor, or spills soaked deep into the foam
- Mold or mildew from a leaky sunroof or a flood
- Heavy pet hair woven into the carpet and cloth
- You want it done fast without buying tools you'll use once
Frequently Asked Questions
How long does it take to detail a car interior?
By hand, a thorough interior detail takes about two to four hours, depending on the size of the car and how dirty it is. Shampooing seats and carpet adds the most time. A quick maintenance clean can be done in under an hour.
What household products can I use to clean my car interior?
A diluted all-purpose cleaner and plenty of microfiber towels cover most surfaces safely. Skip ammonia glass sprays on tint, leather, and screens, and never use bleach. Always test any cleaner in a hidden spot first.
What order should I detail a car interior in?
Work top to bottom and save the glass for last: declutter, dry-vacuum, dust and agitate, wipe each surface, shampoo the fabric, then finish the windows. This order keeps dust and cleaner from dropping onto areas you already cleaned.
How do I get rid of a bad smell in my car?
Start by removing the source — vacuum out debris and deep-clean the carpet and seats, since odor lives in the fabric. Air the car out and dry it fully. Stubborn smells like smoke or pet odor usually need an enzyme treatment or ozone, which is where a pro helps.
Do I need a steamer to detail my car interior?
No, a steamer is optional. It speeds up cleaning vents, seams, and baked-on grime and sanitizes without heavy chemicals, but brushes and cleaner do the same job with more effort. If you detail cars often, it's a worthwhile buy.
Is mobile interior detailing available in San Francisco?
Yes. Golden Bay Detailing is a professional mobile service that comes to your home, office, or street parking across San Francisco and down the Peninsula, bringing our own water and power. Interior details start at $249, and you can get a free quote online.
Keep reading from Golden Bay
Want the pro result without the elbow grease?
We're Golden Bay Detailing. We bring the steamer, extractor, and our own water right to your driveway anywhere in SF and the Peninsula. Get a free quote today.