Problem Solvers
How to Remove Scratches From Car Paint: What Works
Key Takeaways
- To remove scratches from a car, start with the fingernail test: if your nail does not catch in the groove, it is a light clear-coat scratch that usually polishes out.
- Light clear-coat scratches buff out with polish or machine correction. Scratches through the color into primer or metal need touch-up paint or a body shop.
- DIY scratch removers and polish only work on the clear coat. They cannot fix a scratch you can feel with a fingernail.
- Machine paint correction is the real fix for swirls and shallow scratches, removing a micro-thin layer of clear coat to level the surface.
- If you see white, gray, or bare metal in a scratch, it has gone past the paint and needs professional touch-up or panel work.
To remove scratches from a car, start with the fingernail test. Drag your nail lightly across the scratch. If it glides over without catching, the scratch sits in the clear coat only, and it will usually polish or buff out. If your nail catches in the groove, the scratch is deeper and needs touch-up paint or a body shop.
That one test decides everything. It tells you whether you fix the scratch in your driveway for the price of a bottle of polish, or whether you need a pro. Most scratches people panic over are shallow clear-coat marks that come right out with the correct product and a little patience.
We have detailed cars in San Francisco since 2022, and our technicians fix scratches every week. Here is the honest version: what actually buffs out, what does not, and where DIY hits its ceiling.
Understand your paint before you touch it
Modern car paint is built in layers. Knowing which layer the scratch reached tells you how to fix it.
Picture four stacked layers. The primer bonds to the metal. The base coat is your color. The clear coat is a thin, glossy shield on top that holds the shine and blocks UV. Almost all shine and depth live in that clear coat, and it is where most scratches stop.
- Clear coat: the top layer. Light scratches and swirls live here and usually polish out.
- Base coat (color): if you see your paint color dulled or exposed, the scratch went through the clear.
- Primer: a white or gray layer under the color. Visible primer means you need paint.
- Bare metal: the deepest damage, and it can rust if left open. This is body-shop territory.
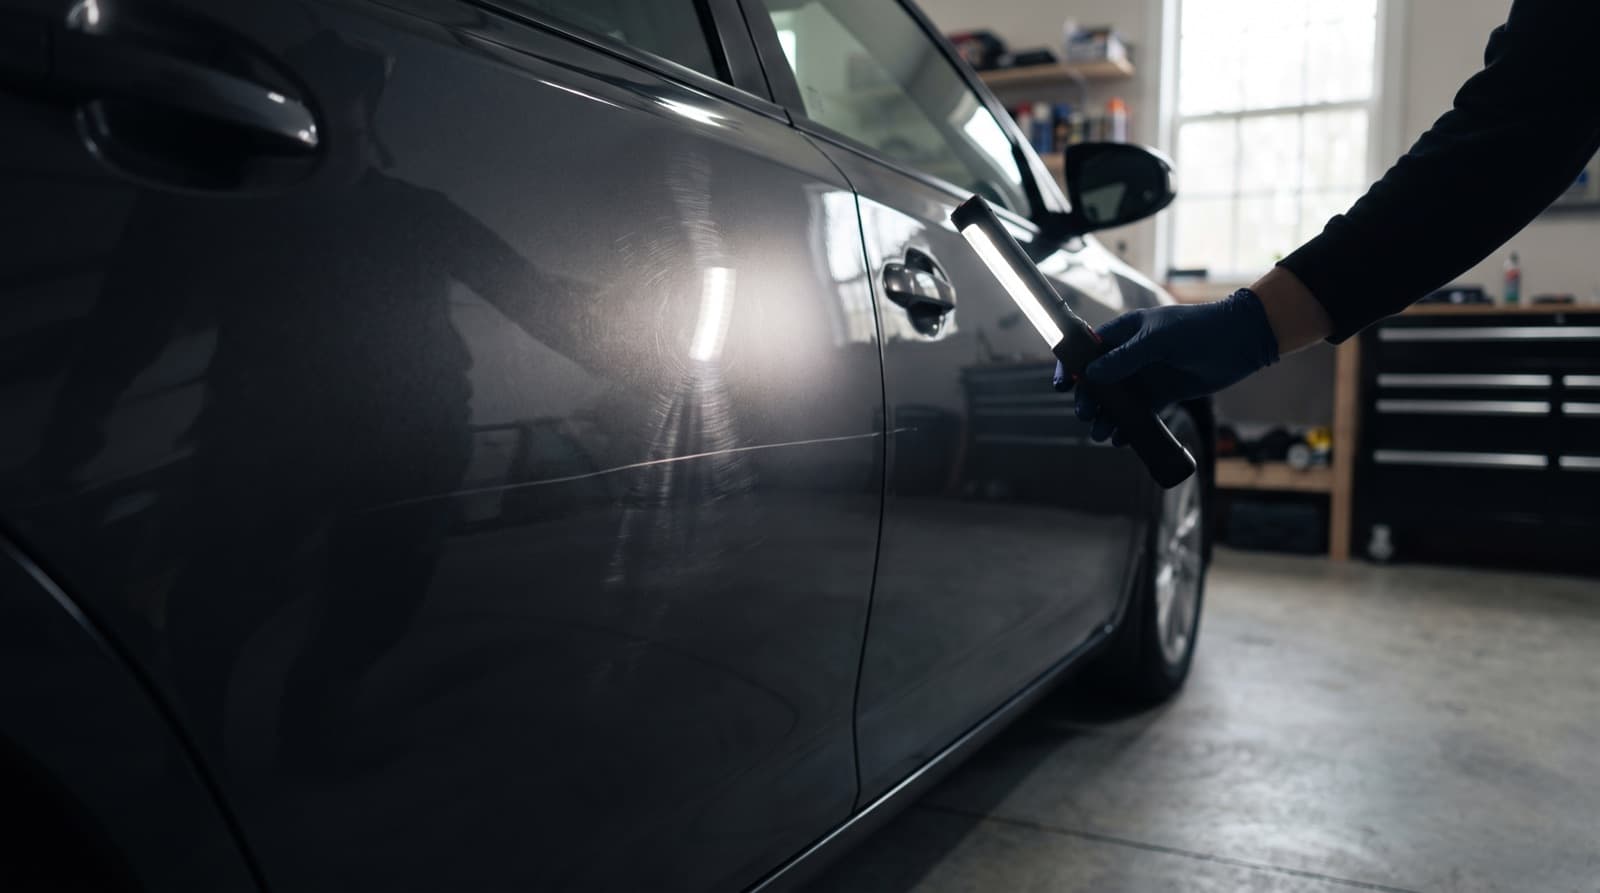
Pro tip: Run the test in the shade, not direct sun. Harsh light hides fine scratches and makes deep ones look shallower than they are.
The fingernail test: your first move
The fingernail test is the fastest way to judge a scratch, and every good detailer uses it.
Clean the area first so grit does not fool you. Then pull your fingernail gently across the scratch, perpendicular to it.
- Nail glides over, no catch: clear-coat scratch. Polish or machine correction will likely remove it.
- Nail catches slightly: it reached the base coat. Polishing may soften it, but it probably needs touch-up paint.
- Nail drops into a deep groove: it hit primer or metal. This needs filling, painting, or a body shop.
What buffs out vs. what needs a body shop
Here is the honest breakdown of common scratch types and the real fix for each. Cost and outcome depend on depth, not on how scary the scratch looks.
| Scratch type | How deep | Real fix | DIY or pro |
|---|---|---|---|
| Swirl marks and haze | Clear coat | Polish or machine correction | DIY-friendly / pro for a flawless finish |
| Light surface scratch | Clear coat | Scratch remover or polish | DIY-friendly |
| Nail-catching scratch | Into base color | Touch-up paint, then polish | DIY passable / pro looks better |
| Deep scratch, primer showing | Primer | Fill, touch-up, wet-sand | Pro recommended |
| Gouge with bare metal | Metal | Body shop repaint | Pro only |
Pro tip: A scratch that catches your nail will not fully disappear with polish. Anyone who promises otherwise is selling you a product, not the truth.
DIY methods and their honest limits
If the fingernail test says clear coat, you can often fix it at home. Here is what works and where each method stops.
The DIY ceiling is simple. Bottle products and hand work handle light clear-coat scratches and small touch-ups. They will not level a deep scratch or make a nail-catching gouge invisible. Knowing that limit saves you money and frustration.
- Scratch remover (like Meguiar's or 3M): a mild abrasive in a bottle. Works on light clear-coat scratches. Rub with a microfiber pad, several passes. It cannot fix anything your nail catches.
- Hand polish: a finer abrasive that removes haze and very light marks. Slower than a machine, but safe and forgiving for beginners.
- Touch-up paint: for scratches into the color. Clean, apply the color in thin layers with a fine brush or toothpick, let each dry, then add clear on top. It fills and protects, but up close it never fully vanishes.
- Toothpaste or DIY hacks: skip them. Toothpaste is a weak, inconsistent abrasive that can add new haze. Use a real product made for paint.
When machine paint correction is the real fix
Machine paint correction is the professional answer for swirls, haze, and shallow scratches across a whole panel or car. A dual-action polisher with a cutting compound removes a micro-thin layer of clear coat, leveling the surface so scratches vanish into the smooth finish.
This is different from hiding a scratch. Correction actually removes the damaged clear coat rather than filling it. Done right, the fix is permanent until new damage happens.
Because your clear coat is thin, there is a limit to how much you can safely remove. A pro measures paint thickness and knows when to stop. That is the main reason a deep, isolated scratch still needs paint, not just more cutting.
- 1-step correction: removes light swirls and haze, restores gloss. Good for most daily drivers.
- 2-step correction: heavier cut plus a refining polish for deeper defects and a show finish.
- Multi-stage: for neglected or badly swirled paint that needs serious recovery.
Pro tip: Ceramic coating pairs perfectly with correction. Fix the paint first, then lock in the clean finish. Every ceramic tier we install includes a 1-step correction so you never coat over swirls.
The San Francisco scratch problem
City driving here is rough on paint, and it shows. If you park on the street in SF, your car collects fine scratches faster than a garaged one ever would.
Tight street parking means door dings and key-line scratches. Marine-layer moisture and salt air soften grime so it grinds into the clear coat. Tree sap and bird droppings etch if left too long. And washing a dusty car with the wrong towel drags grit across the paint, creating the swirls we correct constantly.
Because we are mobile, we come to your driveway, office, or street spot with our own water and power. For apartment dwellers with no garage and no hose, that is often the difference between fixing the paint and living with it.
- Wash with two buckets and a clean microfiber mitt, never a dry rag on a dusty car.
- Remove bird droppings and sap fast, before SF fog and sun bake them into the clear coat.
- Dry with a plush microfiber towel, not an old bath towel that scratches.
Frequently Asked Questions
Can toothpaste really remove car scratches?
Toothpaste is a very mild abrasive, so it can slightly reduce the look of a light clear-coat scratch. But it is inconsistent and can add new haze to your paint. A proper scratch remover or polish made for automotive clear coat works better and is safer. Save the toothpaste for your teeth.
How do I know if a scratch is too deep to fix myself?
Use the fingernail test. If your nail catches in the scratch, it has gone past the clear coat and DIY polish will not remove it. If you see white or gray primer, or shiny bare metal, it needs touch-up paint or a body shop. Anything your nail glides over is usually safe to polish at home.
Will machine polishing damage my paint?
Not when it is done correctly. A skilled detailer removes only a micro-thin layer of clear coat and measures paint thickness to stay safe. The risk comes from inexperienced hands, cheap pads, or too much pressure, which can burn through the clear. That precision is why deeper or one-off scratches are better handled by a pro.
Do you fix scratches on-site in San Francisco?
Yes. Golden Bay Detailing is fully mobile across San Francisco, the Peninsula down to San Mateo, and Marin through San Rafael. We arrive with our own water and power and handle scratch and swirl removal right in your driveway, office lot, or street spot. Text us the scratch photo and we will tell you honestly whether it buffs out or needs paint.
How much does professional scratch removal cost?
It depends on depth and how much of the car needs work. A single-panel touch-up is modest, while full machine paint correction to remove swirls across the whole car starts around $399 for a 1-step. We give an exact quote after seeing photos, so you never guess.
Can a ceramic coating prevent scratches?
A ceramic coating adds a hard, slick layer that resists light swirls, wash marks, and etching from bird droppings or sap. It is not scratch-proof and will not stop a key or a deep gouge. But it makes daily washing safer and keeps your paint looking corrected far longer, which is why we fix the paint first, then coat it.
Keep reading from Golden Bay
Not Sure If Your Scratch Buffs Out? Let's Find Out.
Text us a photo and we'll tell you straight — polish, touch-up, or body shop. Free, no-pressure quote in minutes, and we come to you anywhere in SF, the Peninsula, or Marin.